Tasks
- Adding RecyclerView to an Activity
- Creating a CardView
- Creating the Data Model and RecyclerView Adapter
- Adding Data to Your RecyclerView
- Running and Testing Your RecyclerView
- Adding Event Listeners to Each RecyclerView Row
Create a new project
- Launch Android Studio
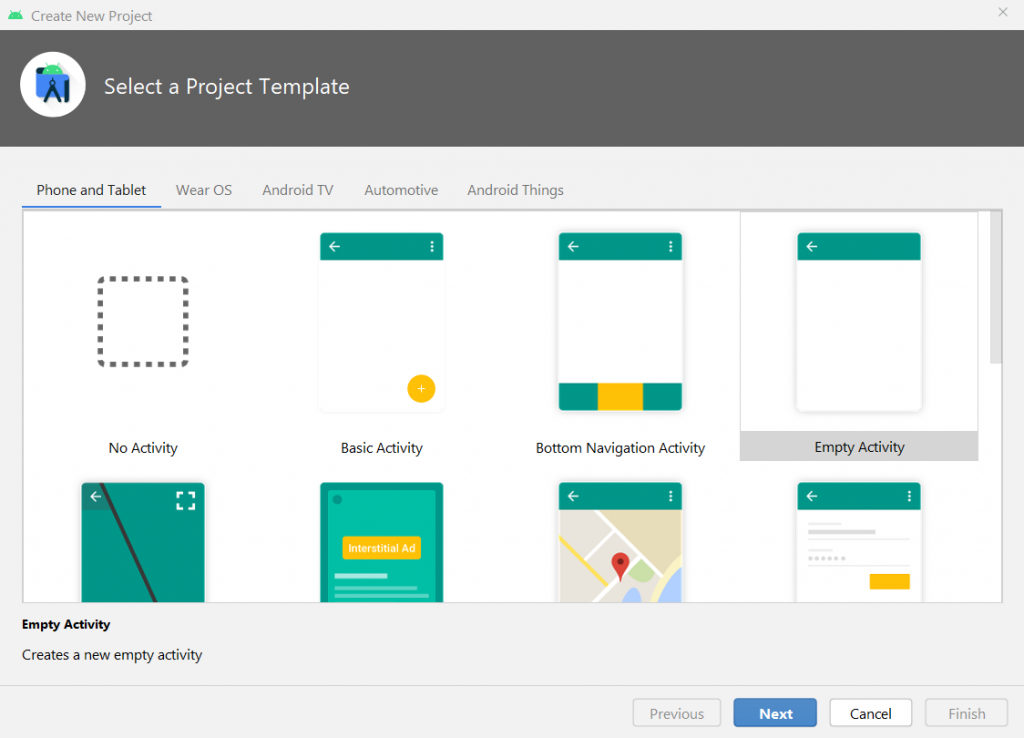
2. Select “Create New Project”. In the next screen, select “Empty Activity” then click “Next”.
Fill up the application settings with below configurations;
- Name: Country List App
- Package Name: com.example.countrylistapp (auto-generated)
- Save location: select your directory or leave to default settings
- Language: Kotlin
- Minimum SDK: leave to default selection
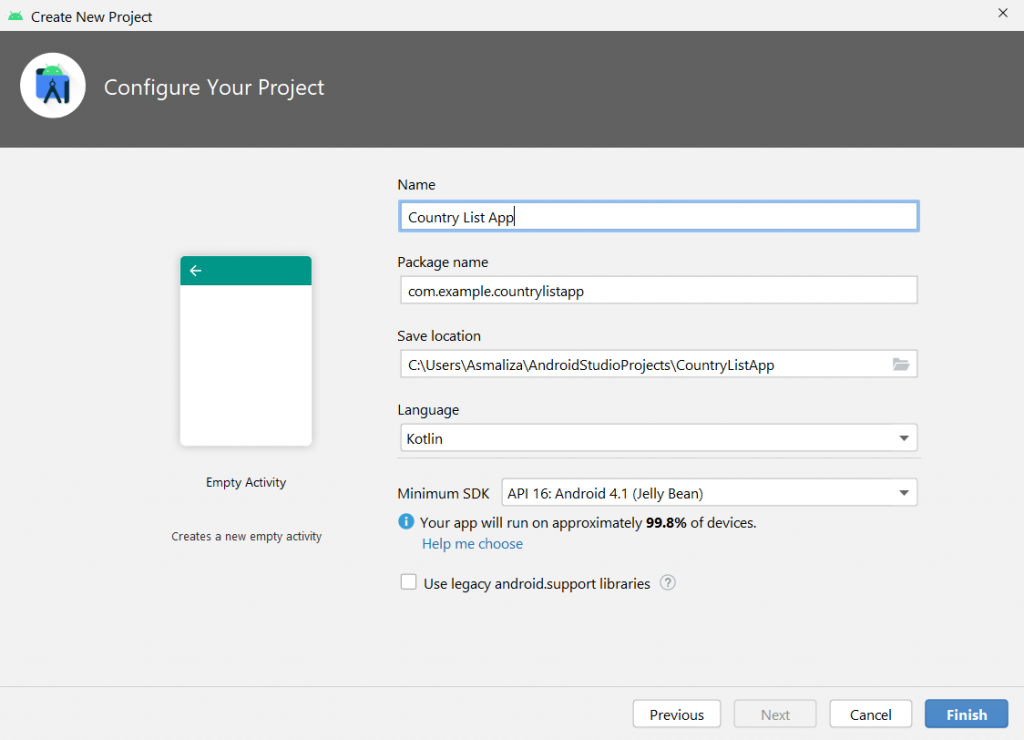
Then click “Finish” to proceed.
Wait a few seconds while Android Studio prepares your project. Once the process completed, you may begin with your development.
4. Update build.gradle (Module:First_Calculator) to add the kotlin android extensions. Your settings (first few lines) should look something like below.
plugins {
    id 'com.android.application'
    id 'kotlin-android'
    id 'kotlin-android-extensions'
}
Once saved, you need to sync the project.
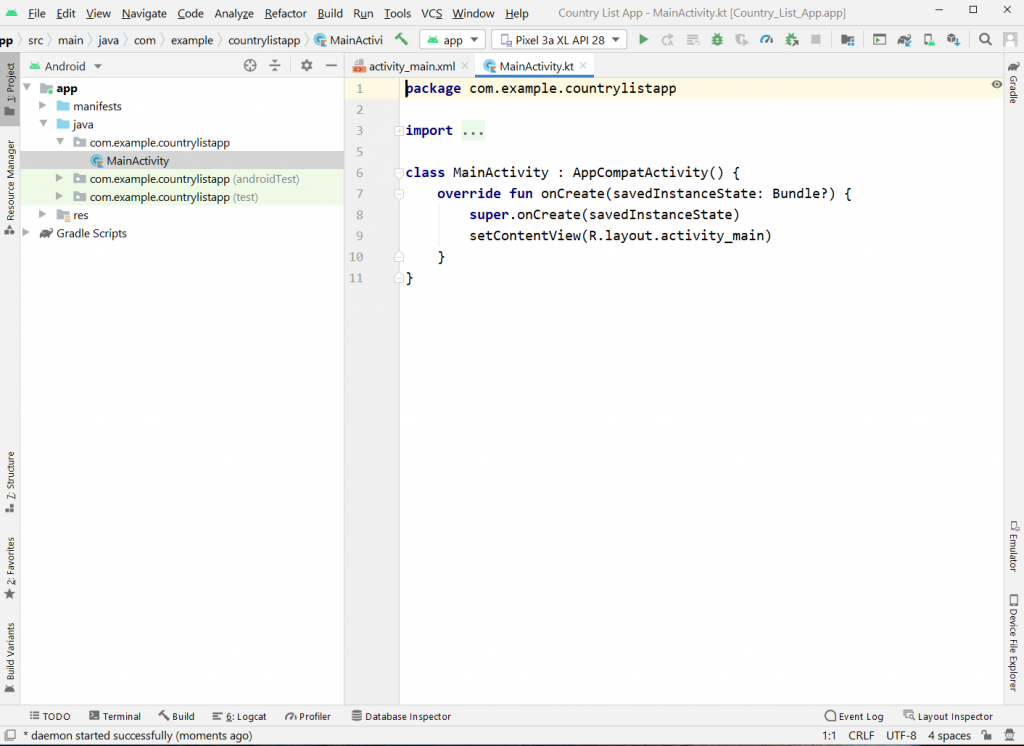
5. Click on “activity_main.xml” to open the layout file.
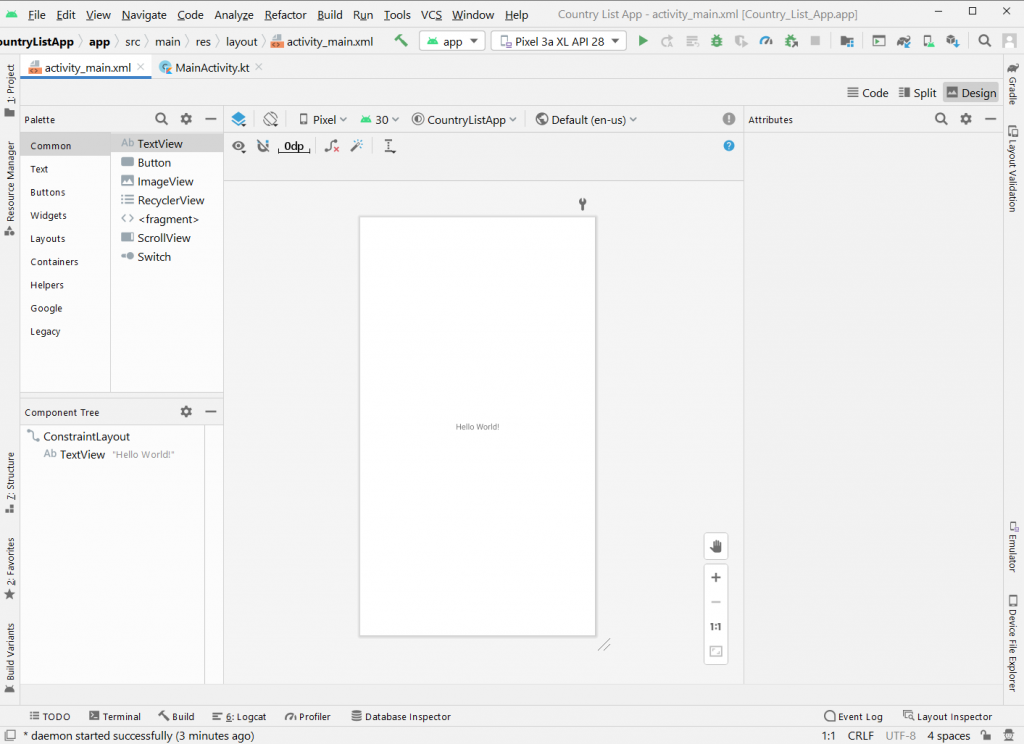
You have two ways to update the activity layout: Code or Design tab (or both if your screen is big enough to open split view).
Adding a RecyclerView to and Activity
- From the palette panel, drag the RecyclerView and drop it on the activity. Set the constrains and set the id to listCountries.
- Your activity_main.xml should contains codes that looks like below.
<?xml version="1.0" encoding="utf-8"?>
<androidx.constraintlayout.widget.ConstraintLayout xmlns:android="http://schemas.android.com/apk/res/android"
    xmlns:app="http://schemas.android.com/apk/res-auto"
    xmlns:tools="http://schemas.android.com/tools"
    android:layout_width="match_parent"
    android:layout_height="match_parent"
    tools:context=".MainActivity">

    <TextView
        android:id="@+id/textView"
        android:layout_width="wrap_content"
        android:layout_height="wrap_content"
        android:layout_marginTop="32dp"
        android:text="List of Countries"
        android:textColor="#009688"
        android:textSize="24sp"
        android:textStyle="bold"
        app:layout_constraintLeft_toLeftOf="parent"
        app:layout_constraintRight_toRightOf="parent"
        app:layout_constraintTop_toTopOf="parent" />

    <androidx.recyclerview.widget.RecyclerView
        android:id="@+id/listcountries"
        android:layout_width="414dp"
        android:layout_height="651dp"
        android:layout_marginTop="16dp"
        app:layout_constraintBottom_toBottomOf="parent"
        app:layout_constraintEnd_toEndOf="parent"
        app:layout_constraintStart_toStartOf="parent"
        app:layout_constraintTop_toBottomOf="@+id/textView" />

</androidx.constraintlayout.widget.ConstraintLayout>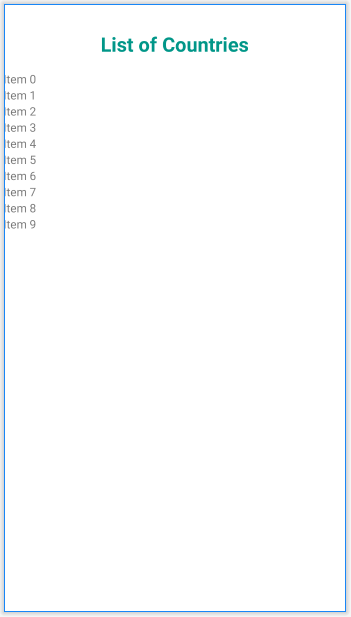
Creating a CardView
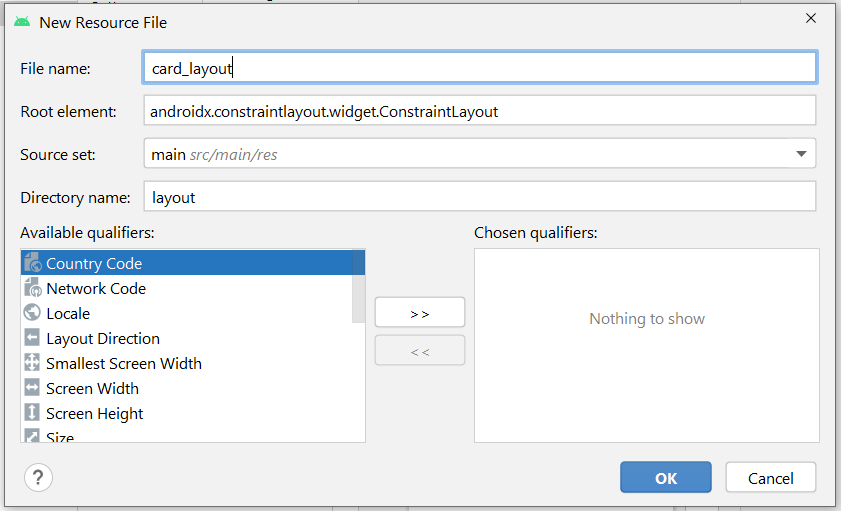
- Add a new Layout Resource File. Right-click layout folder > New > Layout Resource File.
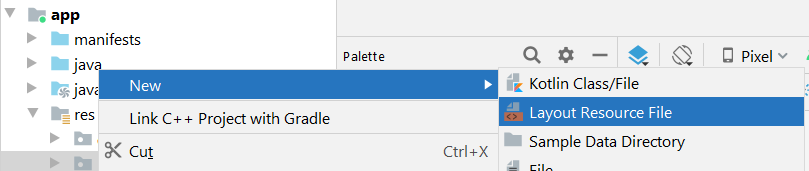
2. Enter the file name: card_layout and the click “OK”.
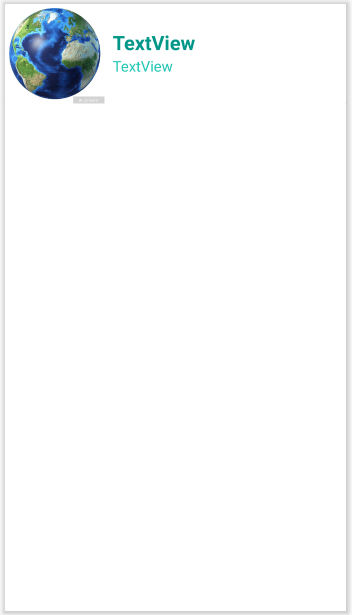
3. Once the card_layout.xml is opened, drag CardView (Containers) from the palette panel and drop it into the activity. Add an ImageView, and two TextViews. The final layout should look like below.
<?xml version="1.0" encoding="utf-8"?>
<androidx.constraintlayout.widget.ConstraintLayout xmlns:android="http://schemas.android.com/apk/res/android"
    xmlns:app="http://schemas.android.com/apk/res-auto"
    android:layout_width="match_parent"
    android:layout_height="wrap_content">

    <androidx.cardview.widget.CardView
        android:id="@+id/cardView"
        android:layout_width="match_parent"
        android:layout_height="120dp"
        app:layout_constraintEnd_toEndOf="parent"
        app:layout_constraintStart_toStartOf="parent"
        app:layout_constraintTop_toTopOf="parent">

        <LinearLayout
            android:layout_width="match_parent"
            android:layout_height="wrap_content"
            android:orientation="horizontal">

            <ImageView
                android:id="@+id/imageView2"
                android:layout_width="120dp"
                android:layout_height="wrap_content"
                app:srcCompat="@drawable/globe" />

            <LinearLayout
                android:layout_width="match_parent"
                android:layout_height="wrap_content"
                android:layout_marginStart="10dp"
                android:layout_marginLeft="10dp"
                android:layout_marginTop="30dp"
                android:layout_marginEnd="20dp"
                android:layout_marginRight="20dp"
                android:orientation="vertical">

                <TextView
                    android:id="@+id/country_id"
                    android:layout_width="match_parent"
                    android:layout_height="wrap_content"
                    android:text="TextView"
                    android:textColor="#009688"
                    android:textSize="24sp"
                    android:textStyle="bold" />

                <TextView
                    android:id="@+id/city_id"
                    android:layout_width="match_parent"
                    android:layout_height="wrap_content"
                    android:text="TextView"
                    android:textColor="#21C5B5"
                    android:textSize="18sp" />
            </LinearLayout>
        </LinearLayout>
    </androidx.cardview.widget.CardView>
</androidx.constraintlayout.widget.ConstraintLayout>
Creating the Data Model and RecyclerView Adapter
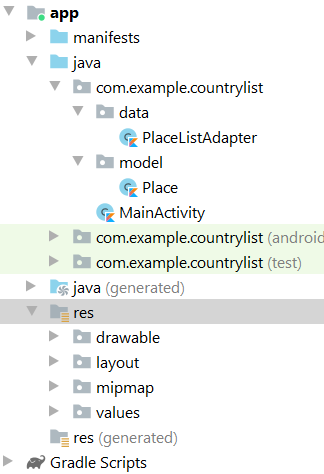
- Add two new packages inside the existing com.example.countrylistapp package called model and data.
- In data package, add a new Kotlin class called PlaceListAdapter.
- In model package, add a new Kotlin class called Place.
- The packages should look like below.
5. Update Place and PlaceListAdapter classes with below codes respectively.
package com.example.countrylist.model

class Place {
    var CountryName : String? = null
    var CityName : String? = null
}
package com.example.countrylist.data
import android.content.Context
import android.view.LayoutInflater
import android.view.View
import android.view.ViewGroup
import android.widget.TextView
import android.widget.Toast
import androidx.recyclerview.widget.RecyclerView
import com.example.countrylist.R
import com.example.countrylist.model.Place
class PlaceListAdapter (private val list : ArrayList<Place>, private val context : Context) :
RecyclerView.Adapter<PlaceListAdapter.ViewHolder>() {
inner class ViewHolder(itemView: View) : RecyclerView.ViewHolder(itemView) {
fun bindItem(place: Place) {
// get reference to view components in card_layout
var country : TextView = itemView.findViewById(R.id.country_id) as TextView
var city : TextView = itemView.findViewById(R.id.city_id) as TextView
// display country name and city
country.text = place.CountryName
city.text = place.CityName
}
}
override fun onCreateViewHolder(parent: ViewGroup, viewType: Int): PlaceListAdapter.ViewHolder {
val view = LayoutInflater.from(context).inflate(R.layout.card_layout, parent, false)
return ViewHolder(view)
}
override fun onBindViewHolder(holder: PlaceListAdapter.ViewHolder, position: Int) {
holder.bindItem(list[position])
}
override fun getItemCount(): Int {
return list.size
}
}Adding Data to Your RecyclerView
- Open MainActivity.kt and update it with below codes (only the bolded lines).
package com.example.countrylist
import androidx.appcompat.app.AppCompatActivity
import android.os.Bundle
import androidx.recyclerview.widget.LinearLayoutManager
import androidx.recyclerview.widget.RecyclerView
import com.example.countrylist.data.PlaceListAdapter
import com.example.countrylist.model.Place
import kotlinx.android.synthetic.main.activity_main.*
class MainActivity : AppCompatActivity() {
private var adapter : PlaceListAdapter? = null
private var countryList : ArrayList<Place>? = null
private var layoutManager : RecyclerView.LayoutManager? = null
override fun onCreate(savedInstanceState: Bundle?) {
super.onCreate(savedInstanceState)
setContentView(R.layout.activity_main)
countryList = ArrayList<Place>()
layoutManager = LinearLayoutManager(this)
adapter = PlaceListAdapter(countryList!!, this)
// assign adapter to recycler view
listcountries.layoutManager = layoutManager
listcountries.adapter = adapter
// country names
var countryNameList : Array<String> = arrayOf("Canada", "USA", "Mexico", "Colombia",
"Malaysia", "Singapore", "Turkey", "Nicaragua", "India", "Italy", "Tunisia",
"Chile", "Argentina", "Spain", "Peru")
// city names
var cityNameList : Array<String> = arrayOf("Ottawa", "Washington DC", "Mexico City", "Bogota",
"Kuala Lumpur", "Singapore", "Ankara", "Managua", "New Delhi", "Rome", "Tunis",
"Santiago", "Buenos Aires", "Madrid", "Lima")
for (i in 0..countryNameList.size - 1) {
var place = Place()
place.CountryName = countryNameList[i]
place.CityName = cityNameList[i]
countryList?.add(place)
}
adapter!!.notifyDataSetChanged()
}
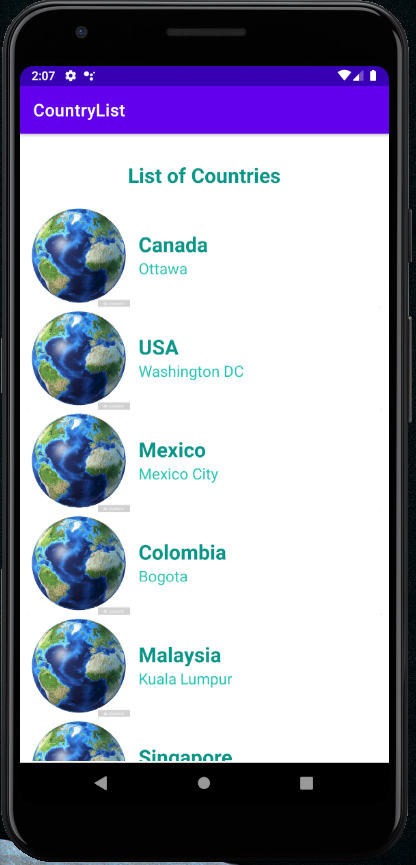
}Running and Testing Your RecyclerView
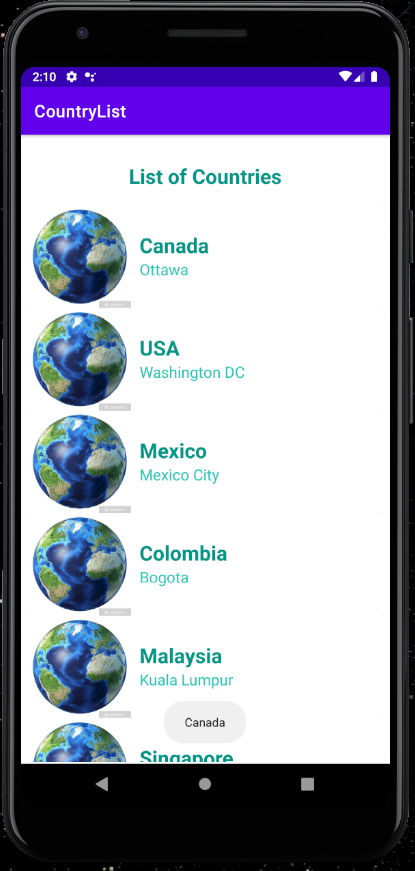
- Run the app. If everything is okay, your app should be up and running as shown below.
Adding Event Listeners to Each RecyclerView Row
- To add an event listener, open PlaceListAdapter class and then add the bolded lines below into the ViewHolder class.
inner class ViewHolder(itemView: View) : RecyclerView.ViewHolder(itemView) {
        fun bindItem(place: Place) {
            // get reference to view components in card_layout
            var country : TextView = itemView.findViewById(R.id.country_id) as TextView
            var city : TextView = itemView.findViewById(R.id.city_id) as TextView

            // display country name and city
            country.text = place.CountryName
            city.text = place.CityName

            // add event listener to each item
            itemView.setOnClickListener {
                Toast.makeText(context, country.text, Toast.LENGTH_SHORT).show()
            }
        }
    }
Congratulations! Your app is now running successfully! (with a toast)